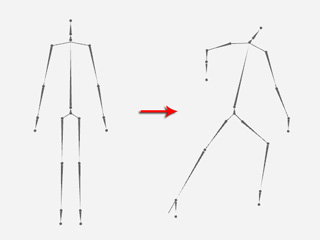
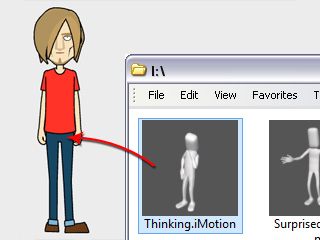
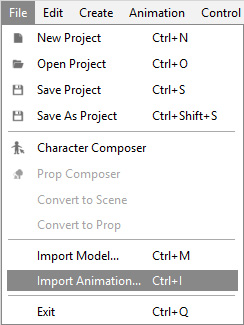
If you are a CrazyTalk Animator Pipeline user, you are allowed to import 3D motions (*.iMotion) from iClone as raw 3D motions to create re-usable and re-editable motion template, in order to expand the motion library for your characters.
These raw motions, after being imported to a CrazyTalk Animator G2 character, automatically generate the bone movements, layer orders of the body parts, and sprite-replacement animations.
After the raw 3D motions are imported, the auto-mechanism performs the following procedures:
Because of the automatic technique, there may be some artifacts in need of further adjustments for displaying correctly afterward. The possible issues are:


You may follow the steps below to fine-tune these imported iMotions; afterward, you can store and re-use them as refined 3D motions.
|
Because the iMotions from iClone are not completely suitable for the CrazyTalk Animator characters, you may need to set about fixing the imperfections as described above after the iMotions are applied to a G2 character.
 3D Motion Key Editor button to open the panel.
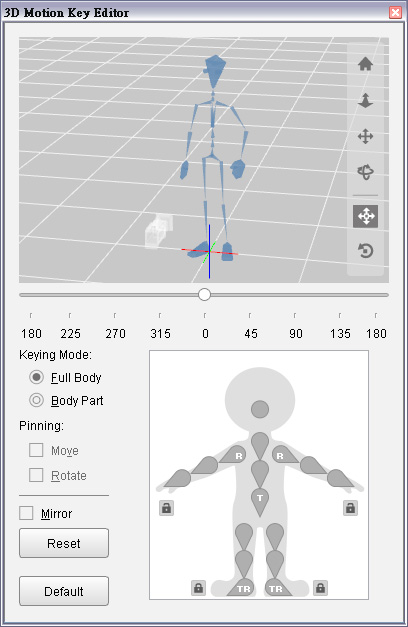
|
|
|
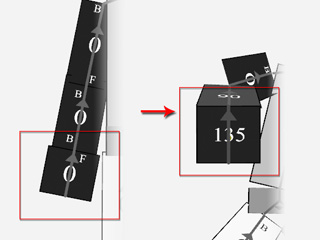
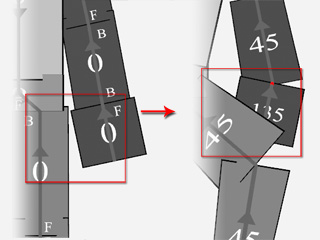
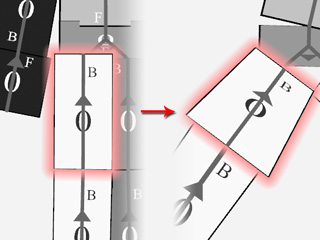
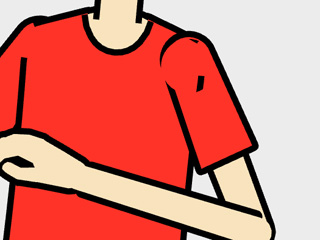
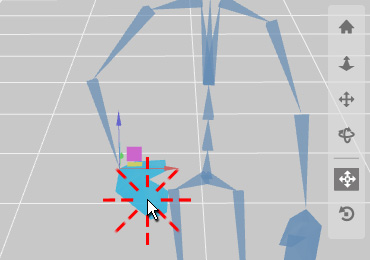
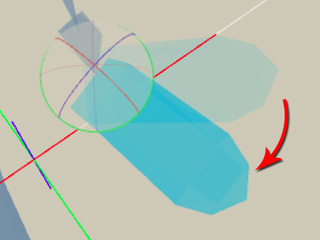
Double click on the body part in the 3D view. |
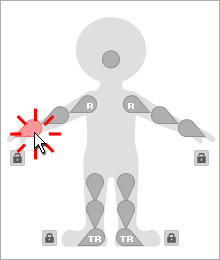
Click on the body part of the dummy. |
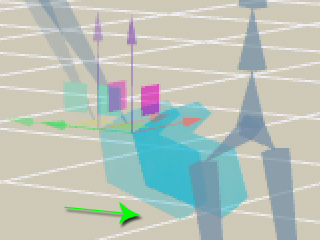
 Move tool and drag
the green axis of the gizmo to eliminate the intersection issues.
Move tool and drag
the green axis of the gizmo to eliminate the intersection issues.
|
|
|
Note: |
|
The arrow colors of the gizmo represents the three axes: R = X; G = Y; B = Z. |
|
|
|
Note: |
|
Please refer to the sections below for more information: |
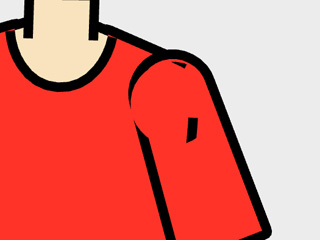
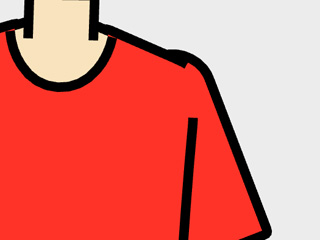
The layer order and the pose-changing of the sprites are automatically generated from the iMotion. However, you may sometimes encounter the layer flaws and over-rapid changing issues. Unless you can not fix the layer issues by adjusting the bones as described in the previous section, modify the issues by the steps below:

|
|
|
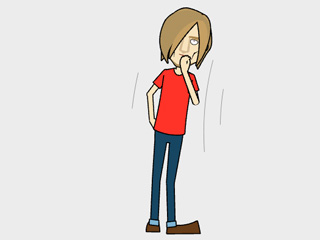
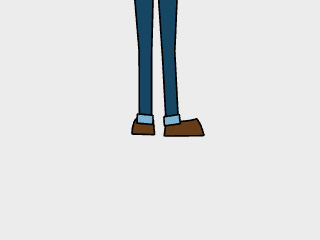
The constantly changes of the poses of the sprite |

|
|
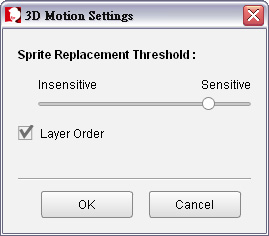
Decrease the sensitivity to ease the changing frequency |
|
|
|
Remove the layer order flaws by deactivating the Layer Order feature. |
|
|
Note: |
|
This box can be deactivated when the motions applied are mild such as idle motions. For the motions with intensive and strong movements, you need to keep this feature activated because it saves a lot of time for manually setting layer order keys. |
Repeat the same steps until the character's motion appears correct.
|
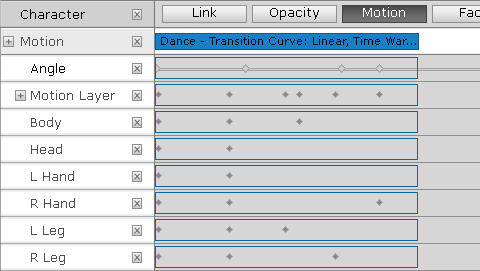
After the iMotion is modified and layered with motion keys, you can confirm the adjustments or do the further 2D modifications.
|
|
|
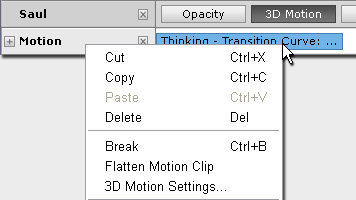
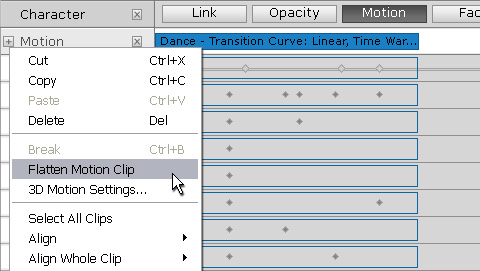
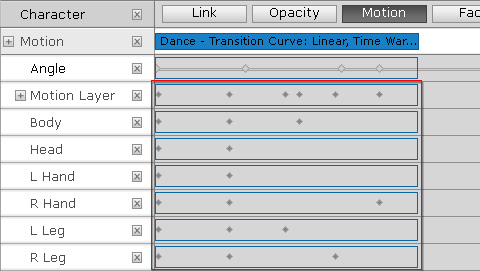
The modification keys in the timeline before flattened |
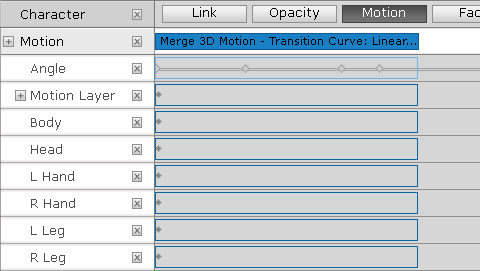
The keys are merged into the motion clip after being flattened |
|
|
|
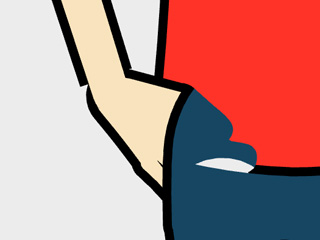
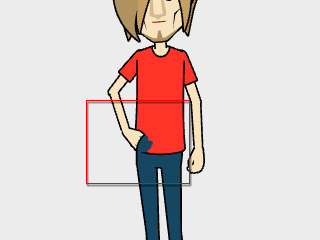
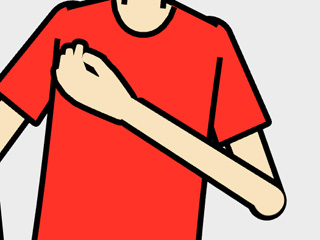
The layer of the entire left hand is move down behind the body. |
Set key to move the for arm back up the body. |
You may then start 2D adjustments such as Sprite Animation, Transformation or Deformation. Please refer to the Using 2D Motions section for more information.