Color Glass Creating and Defects Fixing (New for 1.03)
After you apply the Specular - Glass Version 2 preset
for a single face mesh, you are able to set it as an
Architectural Glass. Besides, this preset provides Single Face setting for you
to make an enclosed model even more transparent with color dyed on the surface (rather than
air filling in the space within it), or to fix
up the sides of the object turning totally black, which is caused by the inverted normals of the back faces.
Creating Dyed Glass
-
Add a new model in iClone and make sure it is selected.
-
Open the iClone Indigo Render Settings panel.
|
Note:
|
|
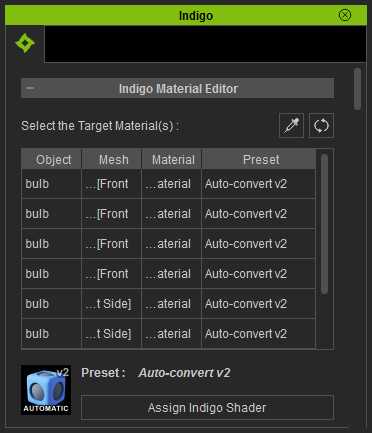
By default, the object will be applied with Auto-convert shader for version 6.0
and Auto-convert v2 for version 6.03 or above.
|
-
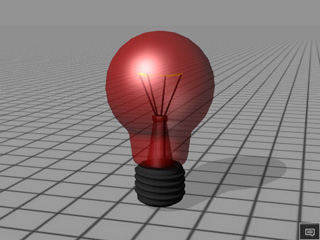
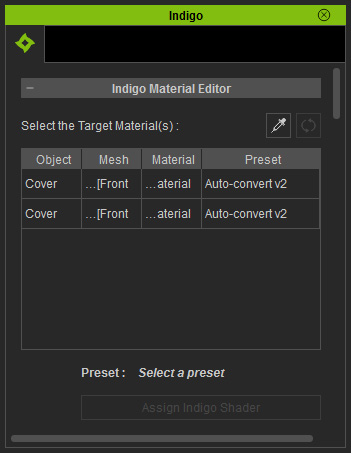
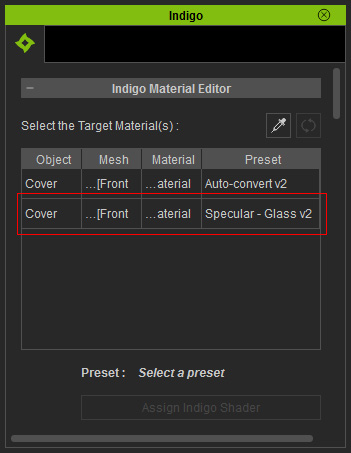
Select the material that you want to set as Specular Glass (in this case, the glass part of the light bulb).
-
Click the Assign Indigo Shader button to open the corresponding
panel.

-
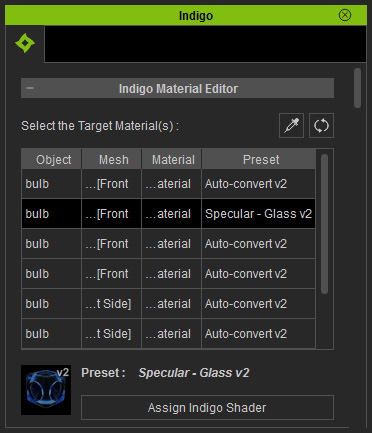
Double click on the Specular - Glass V2 preset
to apply it to the object.
|
Note:
|
-
Double-click application only works in version 6.03 or above.
|
-
If you render the project in Indigo, the object will be a completely solid
one.

-
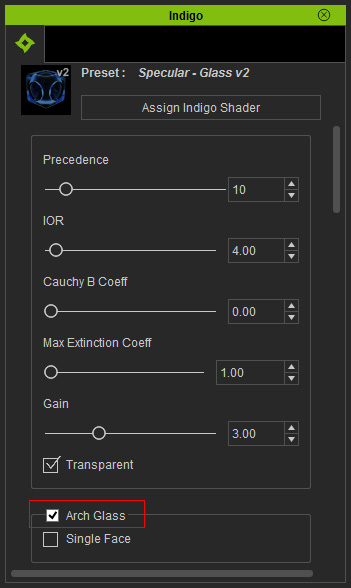
Activate
Arch Glass (Architectural Glass) in iClone to set the
object as single-mesh glass (no medium).
-
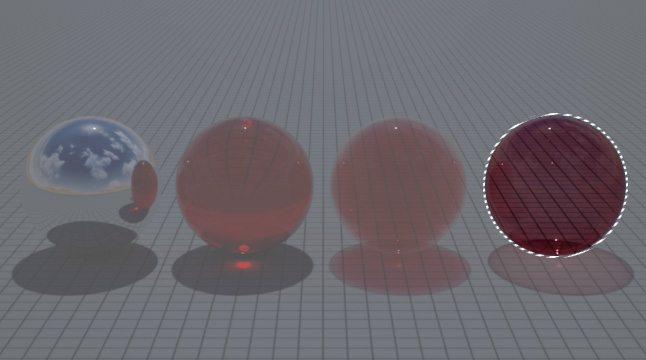
Render the project again in Indigo, the model turns to be a glass with
colored air within it.

-
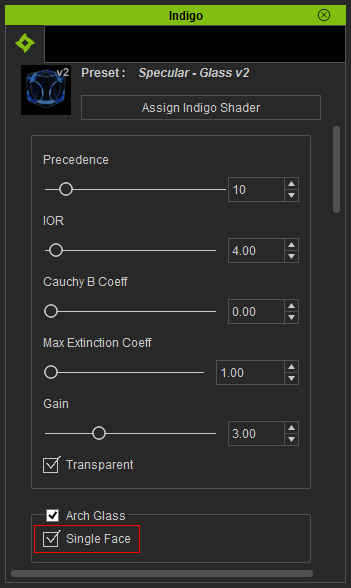
Activate the Single Face option within the
Arch Glass group for seeing through the object more.
-
Render the project in Indigo, the single-face object turns even more transparent with
unobvious color.

-
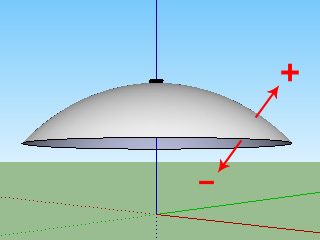
Back to iClone, increase the Gain value for the material
(in this case, 8.5).
-
Render the project again in Indigo. The object is now a dyed thin glass with hollow space inside.

Fixing Black Glass of Single Mesh
-
Create a new project in iClone.
-
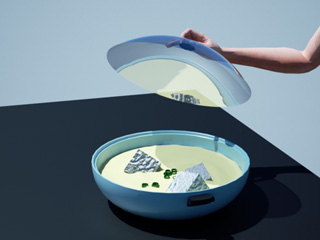
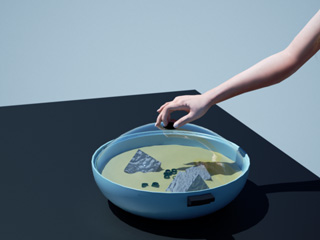
Select the object that you want to set as glass (in this case, the lid
of the pot).
-
Open the iClone Indigo Render Settings panel.
|
Note:
|
|
By default, the object will be applied with Auto-convert shader for version 6.0
and Auto-convert v2 for version 6.03 or above.
|
-
Click the Assign Indigo Shader button to open the corresponding
panel.
-
Double click on the Specular - Glass V2 preset
to apply it to the glass part of the lid.
|
Note:
|
-
Double-click application only works in version 6.03 or above.
|
-
Activate
Arch Glass (Architectural Glass) in iClone to set the
object as single-mesh glass (no medium).
-
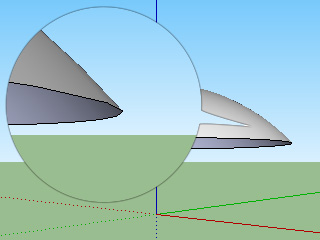
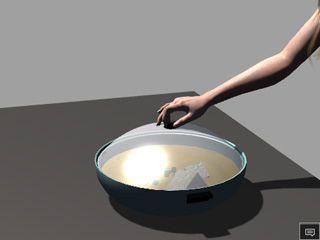
If you render the project in Indigo, the glass part applied with
the preset is perfectly transparent.
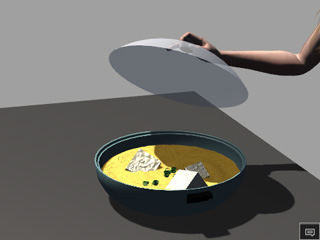
However, when lifted, the underside renders black in Indigo.
|
|
|
iClone project
|
Rendered Result in Indigo
|
-
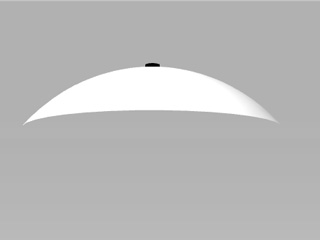
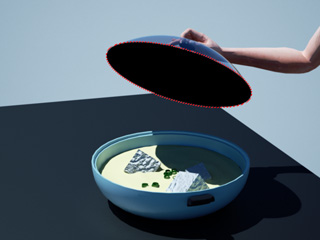
To solve this issue, you need to activate the Single Face option within the
Arch Glass group so that each side of the single-mesh object will be rendered
with identical material settings.
-
Render the project again with Indigo to view the correct result.