Using 3D Motions
If you are a CrazyTalk Animator Pipeline or Pro user, you are
free to apply
embedded 3D motions (*.ct3DMotion) to
G2
characters.
By further editing, a CrazyTalk Animator G2 character can perform
more exquisite 3D motions.
After the editing, you are able to merge the entire motion clips and modification keys
into a brand new 2D motion with certain angles.
Loading an 3D Motion
-
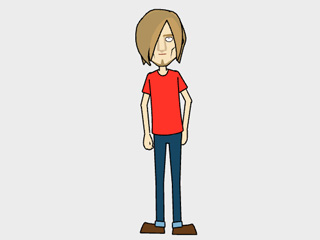
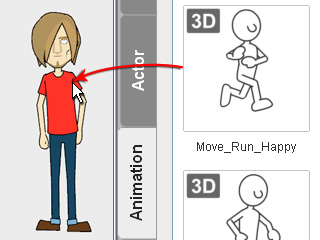
Apply a G2 character.
-
Apply a 3D motion from the
library.
-
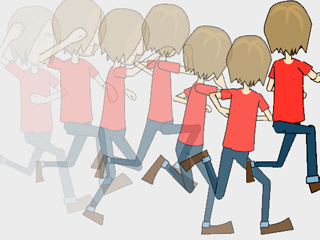
If necessary, then
loop the motion clip
(in this case, looping three times).

-
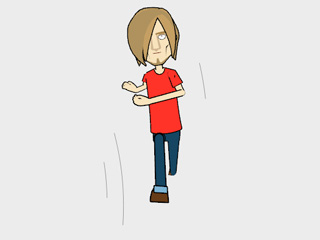
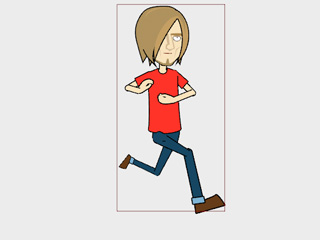
The character will start to perform the applied 3D motion.
-
Open the Timeline (F3) and the Motion track of the character.

There may be already some motion layer keys within the Motion Layer track
in order to refine the clip.
-
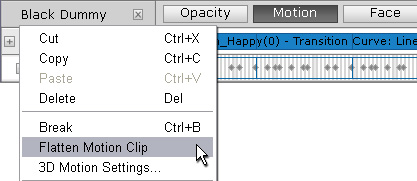
If you want to keep the results of the keys, please right click on the clip and
execute the Flatten Motion Clip to merge the keys into the motion clip.
|

|
|
Execute the Flatten Motion Clip command.
|
The motion layer keys are merged into the clip (a new one will be added
in the start time frame to ensure the first body gesture).
|
Modifying 3D Motions with 3D Motion Key Editor
-
Make sure the character is selected.
-
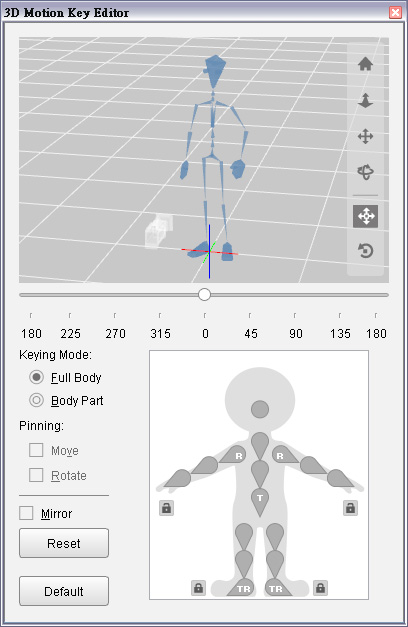
Click the
 3D Motion Key Editor button to open the panel.
-
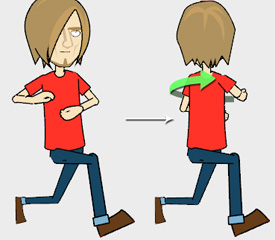
Optionally turn the direction of the character to define the angle of the
3D motion.
-
Scrub to the time frame when you want to add motion layer key (in this
case, the end frame of the motion).
-
To adjust the directions of a body part, select the body part with the dummy
in the panel.

-
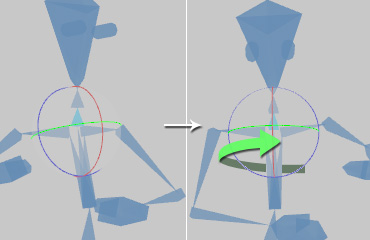
Switch to the
 Rotate tool and rotate the body part by using the rotating gizmo.
|
|
|
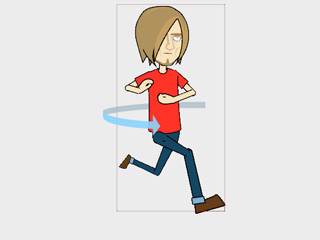
Rotate the neck to triggers the upper body to rotate along (FK method).
|
|
Note:
|
|
The colors of the gizmo represents the three axes:
R = X;
G = Y;
B = Z.
|
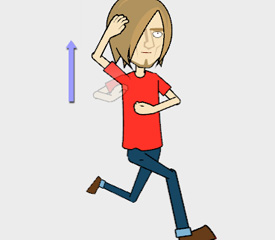
-
Go to the time frame when you want to set another motion layer key (in
this case, the start frame of the motion).
-
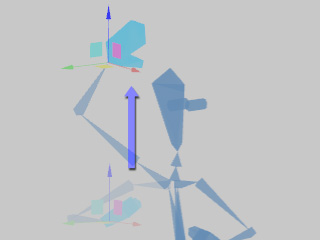
Switch to the
 Moving tool and drag the
three axes of the gizmo to offset the bone.
Moving tool and drag the
three axes of the gizmo to offset the bone.
|
|
|
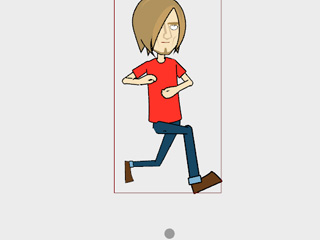
Drag to move the hand up (IK method).
|
|
Note:
|
|
Please refer to the sections below for more information:
|
-
Play back to view the tweening results caused by the two motion layer keys.
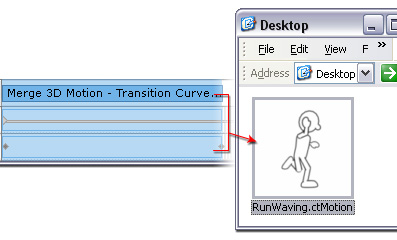
Creating 2D Motions with Specific Angle
After the refinements are done, you can convert the motion clips and the keys into
2D motions (*.ctMotion) with specific angle so that you can do the further 2D modifications.
-
Open the Timeline (F3) and the Collect Clip and Motion tracks of the character.
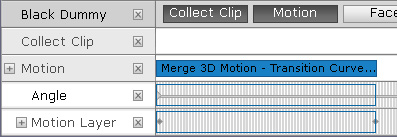
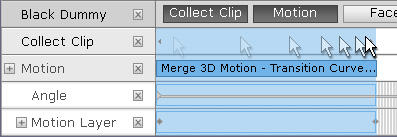
-
Drag within the Collect Clip track to determine a range for exporting an angular 2D motion.
-
Right click within the range and execute the Export command.
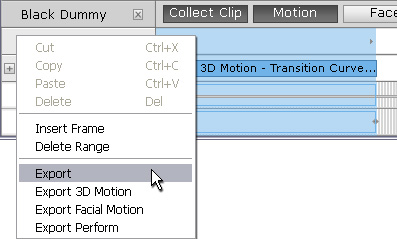
You will be prompted to set a location for saving this new 2D motion clip
with
the keys (including the Angle keys) merged into it.
|
Note:
|
-
If you execute the Export command, then the keys within the Angle and Motion
tracks will be flatten and merged into the clip. You
CAN NOT edit the keys
after applying the new clip again.

-
On the contrary, if you execute the Export 3D Motion command, then the keys will
not be flattened and merged, you are able to apply and edit
the clip afterward.

|
-
Apply the new 2D motion back for further 2D editing, such as Sprite Animation,
Transformation or Deformation.
|
Note:
|
-
A 2D motion is gray while a 3D one is light blue.
-
Please refer to the
Using 2D Motions section for more information.
|