Applying Indigo Shaders Provided by iClone
In addition to Modifying the Parameters in the Material Editor, you are able to
use embedded material presets provided by iClone to change the rendering
result in Indigo without altering the original project in iClone.
The purpose of these presets are for you to quickly change the material for
rendering in Indigo, or to apply some material that can not be done
by simply adjusting the settings in the iClone Modify Panel or the
parameters in the
iClone Indigo Rendering Settings Panel.
Please refer to the Indigo Shader Presets in iClone
section to view the presets embedded in iClone.
-
Create a project in iClone.

-
Auto-convert this project to Indigo for rendering.
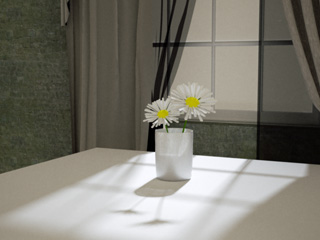
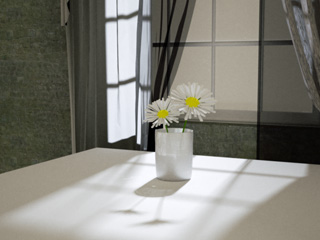
In this case, there are several objects that need specific material types. However, these
types can not be generated via the
Auto-convert Regulations.
-
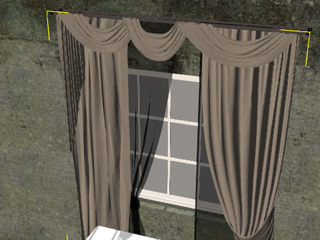
The Curtains: Needs to be able to transmit light.
-
The Table: A car-paint effect may generate a better appearance.
-
The Glass for the flowers: Needs to be transparent.
-
The Water in the glass: Must also be transparent.
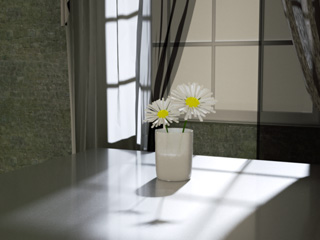
In this case, the Curtain is taken as an example for the next
steps.
-
Go back to iClone, select the curtains prop.
-
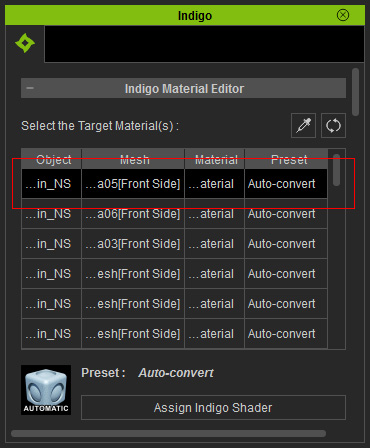
In the iClone Indigo Render Settings panel, pick the material that you want to replace from the list.
|
Note:
|
|
You may use the Pick  tool to quickly pick the material you want.
|
-
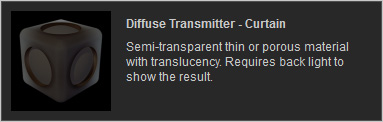
Click the Assign Indigo Shader button below the list to show a library
of embedded shaders.

-
Pick the desired shader from the library and then click the Apply button
at the bottom of this panel (in this case, the Diffuse Transmitter).
-
You can see from the list that the material will be replaced by the one indicated in the Preset column.

-
Render the scene again in Indigo.
-
Repeat the same steps until every material type is replaced to your satisfaction.
-
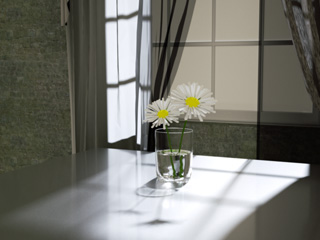
The Table: The Coating - Car Paint shader is
applied.
-
The Glass for the flowers: The Glossy Transparent
shader is applied.
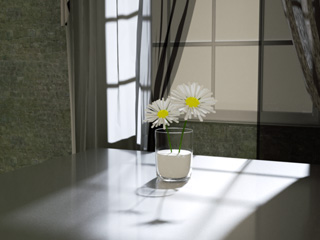
-
The Water in the glass: The Indigo Specular
shader is applied.
|
Note:
|
|
Please note that if you have created any material animation for
specific objects, after they are applied with the shaders for
rendering in Indigo, the animations will NOT be
kept.
|